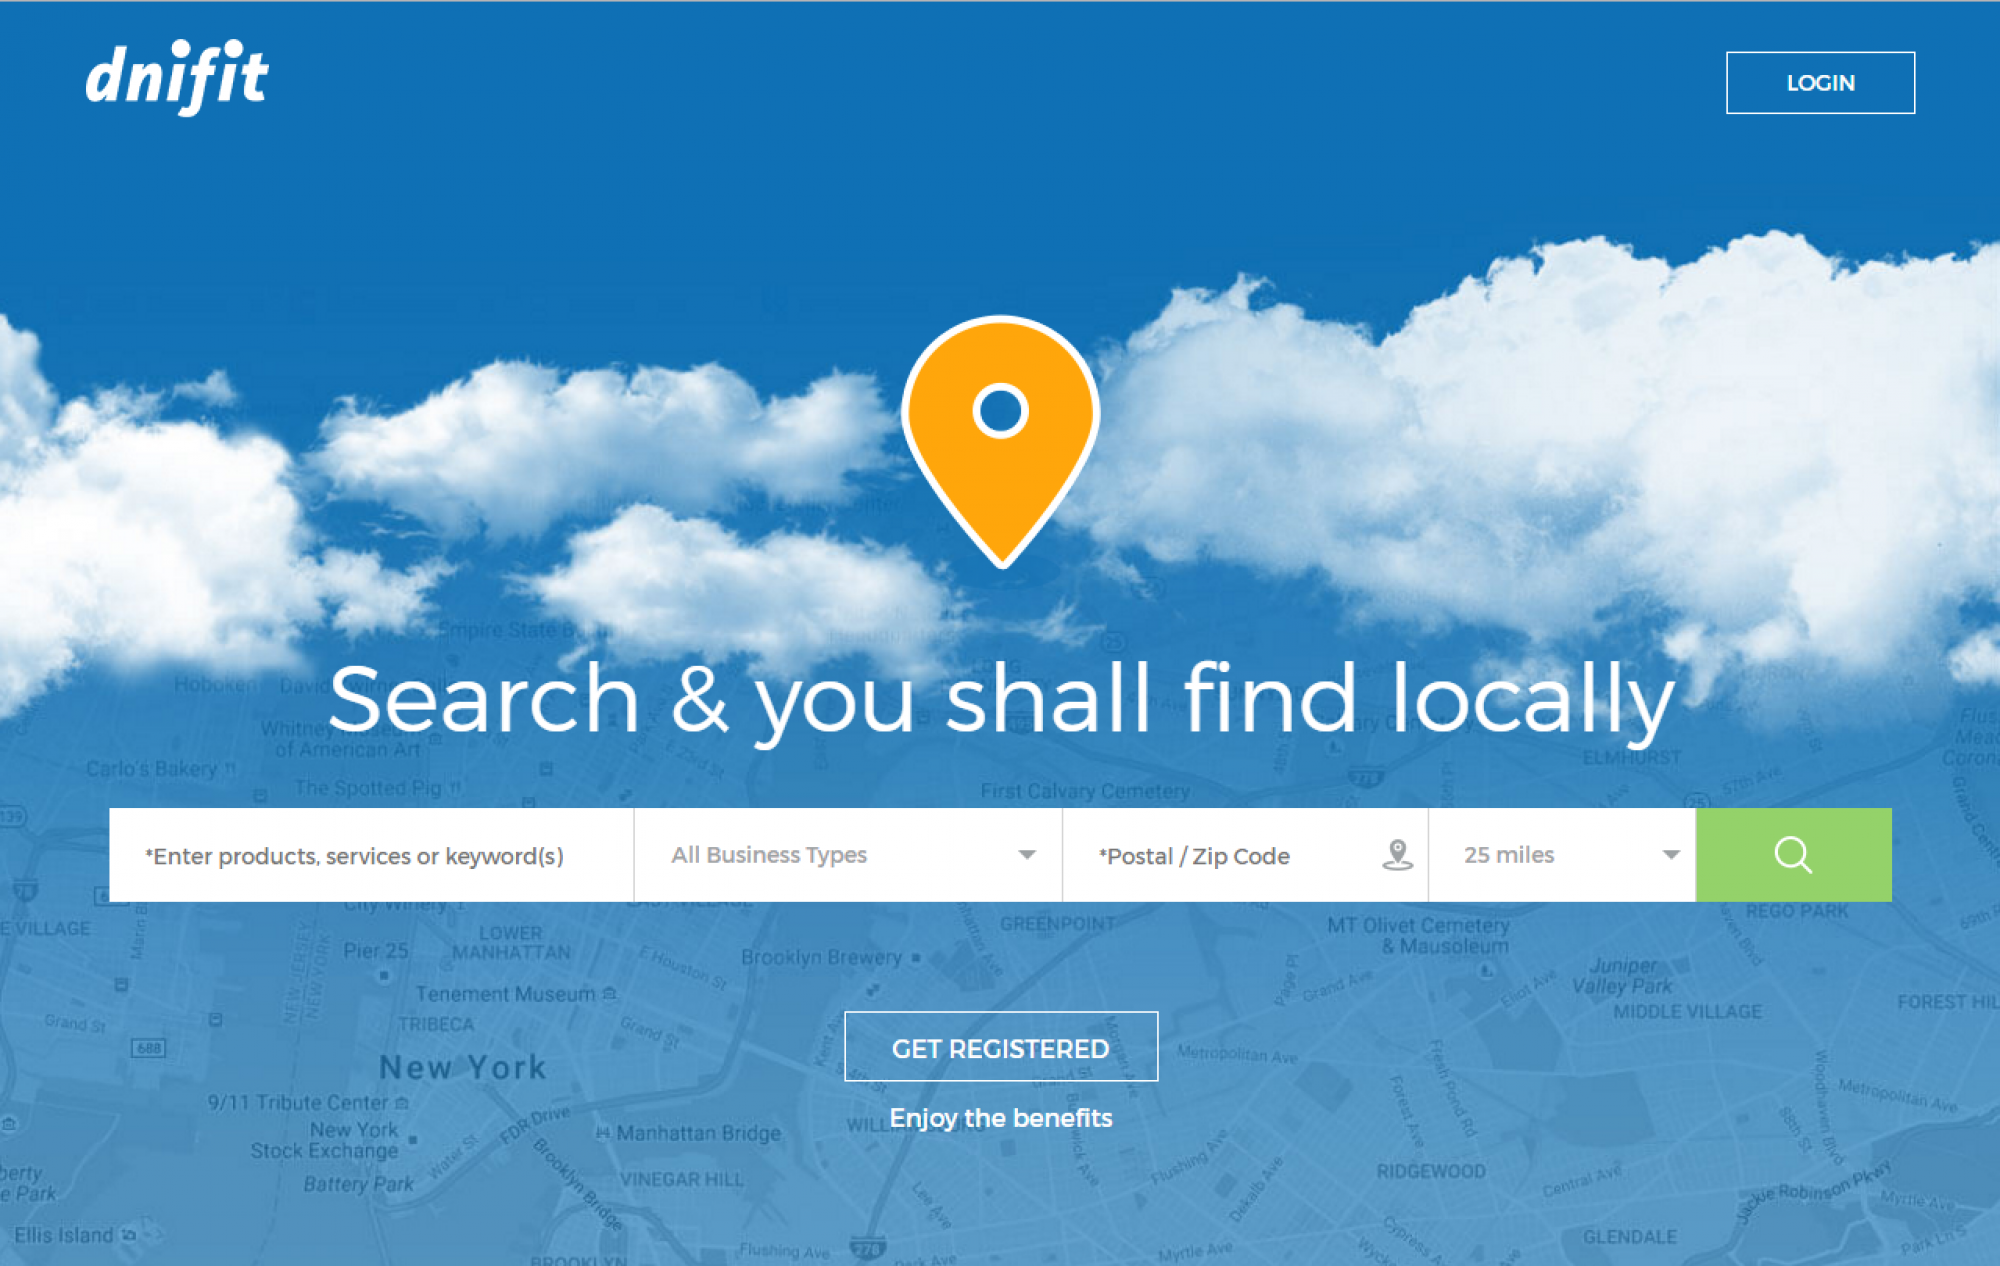
How to create a dnifit business profile
Welcome to your first lesson at the dnifit academy. In this lesson we will be teaching you how to create a dnifit business profile so you can market hyper-locally. In this tutorial we will walk you through how to get found online by your local community. By the end of this tutorial, anyone will be able to search for your business or any available products/services and find your business instantly. So here are the steps to connecting with your business with local consumers and shoppers online:
1)Register with dnifit.com to start marketing hyper-locally
*Note you should be on a Computer or Laptop for the Business Registration process*
2)Click Login to be transferred to the login/registration page
*Note: Make sure that Business is selected and NOT Consumer*
3)Click Get Started!
4) You will be brought to the registration screen, please select business as the User. Type and enter your business email and a password that you wish to use for dnifit.
5)Click next and you will be brought to a screen where you can upload a picture, we highly suggest you upload both a logo and a storefront for your business. You can upload the same picture twice. We highly recommend uploading a for your storefront as that picture will show up on the mobile app and in search results.
6)Scroll down and now you will be able to start providing information about your business!
Inserting your business information
Step 1) Please insert your business name!
Step 2) Insert a phone number. This is the number that will show up on your profile for consumers to call you. You can also insert a website url (not necessary) so consumers can learn more about your business.
Step 3) You type in your primary contact name and you also have the option to put in your cell number. It’s not required but we recommend putting in a cellphone number so we can contact you if we need any information for your profile or any questions regarding your account. We ask for your name so consumers can be on a first name basis.
Step 4) We will select our business category. As an example, we will choose Tutoring. For your business you can select whichever category fits best. If you can’t find a category that fits your business exactly, please email us at support@dnifit.com and we will add your business category into our database for you. We welcome all businesses on board! You can select what kind of business you are. If you offer products, you will select products. If you offer services, you will select services. If you offer both then you have the option to select both. For this example, we will select services.
Step 5) Now you can tell the community and consumers all about your business (have fun with it). As an example, we added our own dnifit academy information. this is your chance to tell your company’s story. Consumers want to know what kind of business and people they will be dealing with. Describe the qualities of your business, the history of how your company came to be, where the name comes from, etc. The possibilities are endless the only limit is your creativity!
Step 6) Now add your business location. This is VERY important as consumers will need to find your business location. If you don’t put in the correct information consumers WILL NOT be able to find your business. If you operate a home-based business, you can add your street name only if you don’t feel comfortable with sharing your home address.
Step 7) Now we will move onto business hours. Depending on your hours of operation your pin on the map will either appear red or green. Red means your business is currently closed. Green means your business is currently open. You can click the arrows and select what time fits you best. Please note the times range from an hour to half an hour so if you have an obscure time such as 9:15 it is not on the list. We are working on fixing this in a future release so you can type in whatever time you want.
Example of closed and opened businesses. You can also see the businesses that have logos and how it looks if you don’t have a logo.
Step 8) Here you can type in your mailing address if it differs from your business address. This is for our purposes only. You can also select if your business delivers or not. If it doesn’t differ you can select “Same as business location” and everything will prefill with the information you already typed!
Step 9) Once you reach the bottom of the page you can select how you were introduced to dnifit. You can also select what social medias you have. Currently we only support Facebook, Twitter and Linkedin. We plan on adding more social media platforms in the future. We highly recommend you add your social medias so we can follow you and so consumers can follow you as well! Also make sure to select the check box at the bottom to complete your registration!
Step 10) Once you finish clicking register you will now receive an email from us asking you to please confirm your account. You can click the link in the email to confirm your account. Once you confirm your account you can login.
Example: Email that is sent to you
Example:Email after you click the link
Step 11) After you login, you will be greeted with the follow message. Click subscribe and accept the terms check box and press continue. dnifit is currently offering a complimentary 6-month trial;no credit card required!
Step 12) You can now start adding services/products and keywords. This is where the site gets fun. Consumers can find you either by products/services or keywords you have listed on your profile. These are the ONLY ways a consumer can find you. Make sure you try to fill out your profile as much as you possibly can. Try to insert unique products,services and keywords that stand out from other businesses. For keywords, you can use things such as your name/business category/certifications etc. Also when inserting products, you must list if you have them in stock or not. Products out-of-stock will not show up (please enter 1 or more of stock to be searchable), SKUs/Unique numbers (if you aren’t sure, we auto generate one for you) and model numbers. You can also insert price. For our example we will put in no price since our help is always free! You can also put in a discount if you’re having a special sale to entice local consumers. You can also upload pictures of your products or pictures of your services. We suggest uploading pictures of your products to make your profile stand out!
Example of a service being added
Example of a keyword being added. Remember be unique when adding in your keywords! Add in things that will make you standout!
Step 13) Once you are finished adding in your products and services you will be taken to your dashboard. Here you can see how consumers and other businesses see your profile. You will see all the information you filled out in the beginning of this tutorial all displayed on your profile.
Now you are all finished and your business can be found by local consumers! We plan to also allow this profile to boost your SEO results in a future release. We appreciate your time and thank you for reading. Stay tuned, we will be in-touch with helpful tips and secrets to better connect with the local community. Video version of this tutorial coming soon! Please follow us on our social medias and we will you back if you are a member! Welcome to the dnifit community!